How to make a super simple headband
The little things can really take a garment from "hmmmm" to "WOW!" One of the perks of sewing your own clothes is being able to make coordinating 'hair wear'. We're talking about headbands, hairbands, bows and clips.

This is the first in a series of posts on how to make super quick and very easy headbands to coordinate with your new garment. The series was instigated by the headband in the picture above, with the Gypsy dress by Designer Stitch (blog post here) . The headband was appallingly quick to make, but really set off the dress, to give it a more finished look.
So first up in the headband series is


>/tr>

This is the first in a series of posts on how to make super quick and very easy headbands to coordinate with your new garment. The series was instigated by the headband in the picture above, with the Gypsy dress by Designer Stitch (blog post here) . The headband was appallingly quick to make, but really set off the dress, to give it a more finished look.
So first up in the headband series is

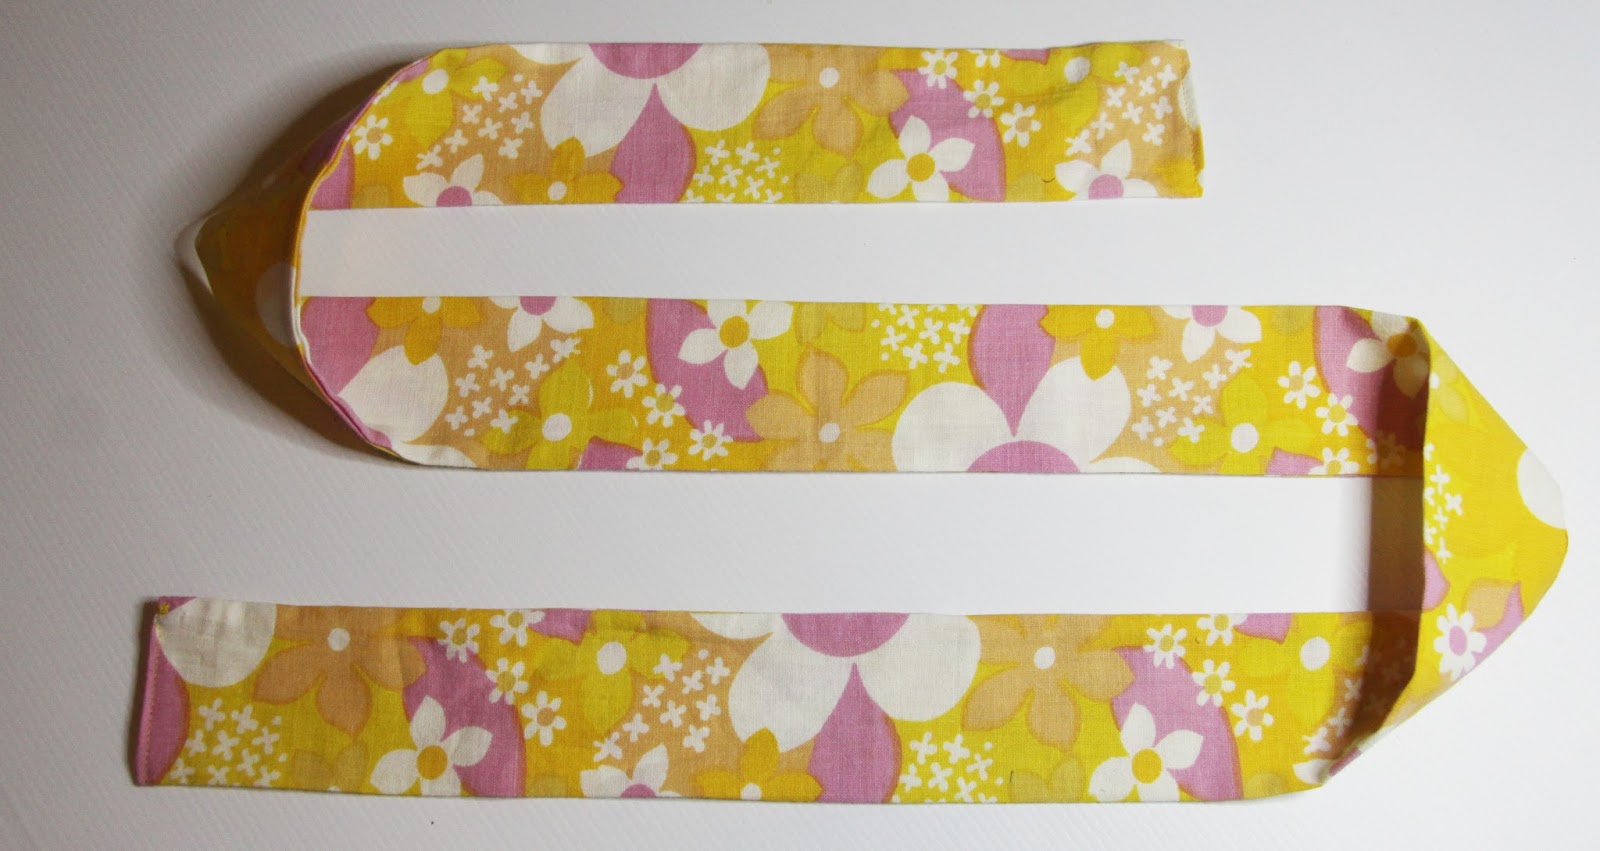
I mean it when I say this one is easy - it's a tube of fabric with the ends sewn shut. But with it's simplicity, there are a number of options. Headband, hair tie, bun wrap, belt, scarf???
Here's a quick tutorial on how to make one yourself - really basic instructions.

Do you a bit more detail???? Here are lots and lots of explanatory notes (and some photos)
>/tr>
1. Decide on your dimensions
|
|
|---|---|
| You need a long rectangle of fabric. If you have a long strip along the selvedge of your fabric (as I had for the Gypsy), that's perfect. My original version was around 5" wide, and 46" long. You can make it shorter (say 10" longer than your head circumference). I just used as much as I could salvage from the fabric scraps.
My quick way of testing length is to grab the fabric, and wrap it around my head. If there seems to be enough to tie the ends, then you're good to go. My second version was really long. I quite like it, though. The vintage fabric rather lends itself to long ends trailing through the hair. |
|
2. Cut your fabric to size
| |
| This is easiest with a quilting mat, ruler and rotary cutter. |  |
| I removed the selvedge and used that as a straight line to measure off 5" with my ruler |  |
| Then square off the ends. |  |
| 3. Pre-press short ends | |
| Fold the short ends up 1/4" and press. This will make it easier to turn them in later. |  |
4. Sew into a long tube
|
|
| If using an overlocker (serger), you can use this trick to make turning your tube super easy. First, make a long chain of 'overlocking" |  |
| Fold the fabric around the chain, and sew along the seam edge (being careful not to get the chain caught in the stitching). Unless you have a very long chain, you will need to give it a bit of a tug every now and then, and the sewn portion will bunch up. That's ok. |  |
| When you get to the end, the overlocker chain should be hanging out the end of the tube. |  |
| Pull on the overlocker chain to turn the tube out to the right side. It might need a bit of help folding the first little bit in to get it started. If you haven't used an overlocker for this tool, you can use a turning tool, or turn it manually (tweezers can help with this). | 
 |
| Don't panic if you have just stitched the edge at this point. There are lots of ways to make turning a tube easier. For something rather wide like this headband you can start folding one end over so it's right side out, and keep working that section down with your fingers. Sometimes a pair of tweezers can help to grab the fabric if there's not much room for fingers. Otherwise there are a different tools you can used. I have this little do-dad (pictured on the right). You thread it up the inside, and use the hook to grab the fabric and turn in through. Another option is a turner that works like a stick and a tube. Or you could attach a large safety pin or bodkin to one end, and use that to feed the tube inside itself until it's right way out. |
 |
| 6. Fold in the ends | |
| Fold ends in along pre-pressed folds, and press again to neaten. |  |
| Stitch the ends shut, close to the folded edge |  |
| I then take a needle and thread the ends back inside the tube. If you apply a little tension, and snip close to the fabric, the thread will pop inside. |  |
| And you're done! Take that headband, and put it to good use. |  |


Comments
Post a Comment